How to Migrate from Weglot to Webflow Localization in 7 Steps
Multilingualism on Webflow has long been a puzzle wrapped in a riddle. At first, complicated workarounds were the norm, and then Weglot came along with a game-changing solution. Suddenly, managing multilingual websites became not just possible but relatively simple. However, times have changed. Meet Webflow Localization, a feature that promises seamless integration and design control.
This begs the question: Should you stick with Weglot or make the switch to Webflow Localization? While Weglot remains an excellent tool, Webflow Localization offers unique benefits, especially for Webflow enthusiasts. Whether you’re after better design control, SEO advantages, or cost savings, this guide will help you transition effortlessly from Weglot to Webflow Localization in seven straightforward steps.
Key Takeaways
- Webflow Localization integrates directly into the Webflow Designer, offering a smoother experience.
- SEO benefits include granular control over multilingual URLs, meta titles, and descriptions.
- Switching from Weglot requires manual content migration but ensures full design control.
- Cost savings are significant, as Webflow Localization eliminates subscription-based word count pricing.
- Data protection improves, with no reliance on third-party services like Weglot.
Why Switch from Weglot to Webflow Localization?
Weglot revolutionized multilingual website management, but Webflow Localization raises the bar by aligning perfectly with Webflow’s design-first philosophy. Here are the primary reasons why it might be time to make the switch:
- Seamless Integration
Webflow Localization operates natively within the Webflow Designer. This means no third-party dashboards or extra scripts. Every aspect of your multilingual site, from language switchers to meta tags, is handled directly within Webflow. - Enhanced Design Control
With Webflow Localization, you can fully customize the look and feel of your language switcher to align with your website’s design. No custom code or external dependencies needed. - SEO-Friendly Features
Webflow Localization allows unique URLs for each language version, integrated directly into your sitemap. This ensures better visibility and indexing by search engines, a crucial edge for international SEO strategies. - Cost and Data Protection
Weglot’s pricing depends on word count and language combinations, which can become costly. Webflow Localization’s flat plan pricing eliminates this issue. Additionally, since data doesn’t leave Webflow, your site is more compliant with GDPR and other privacy regulations.
The 7 Steps to Switch from Weglot to Webflow Localization
Step 1: Activate Localization
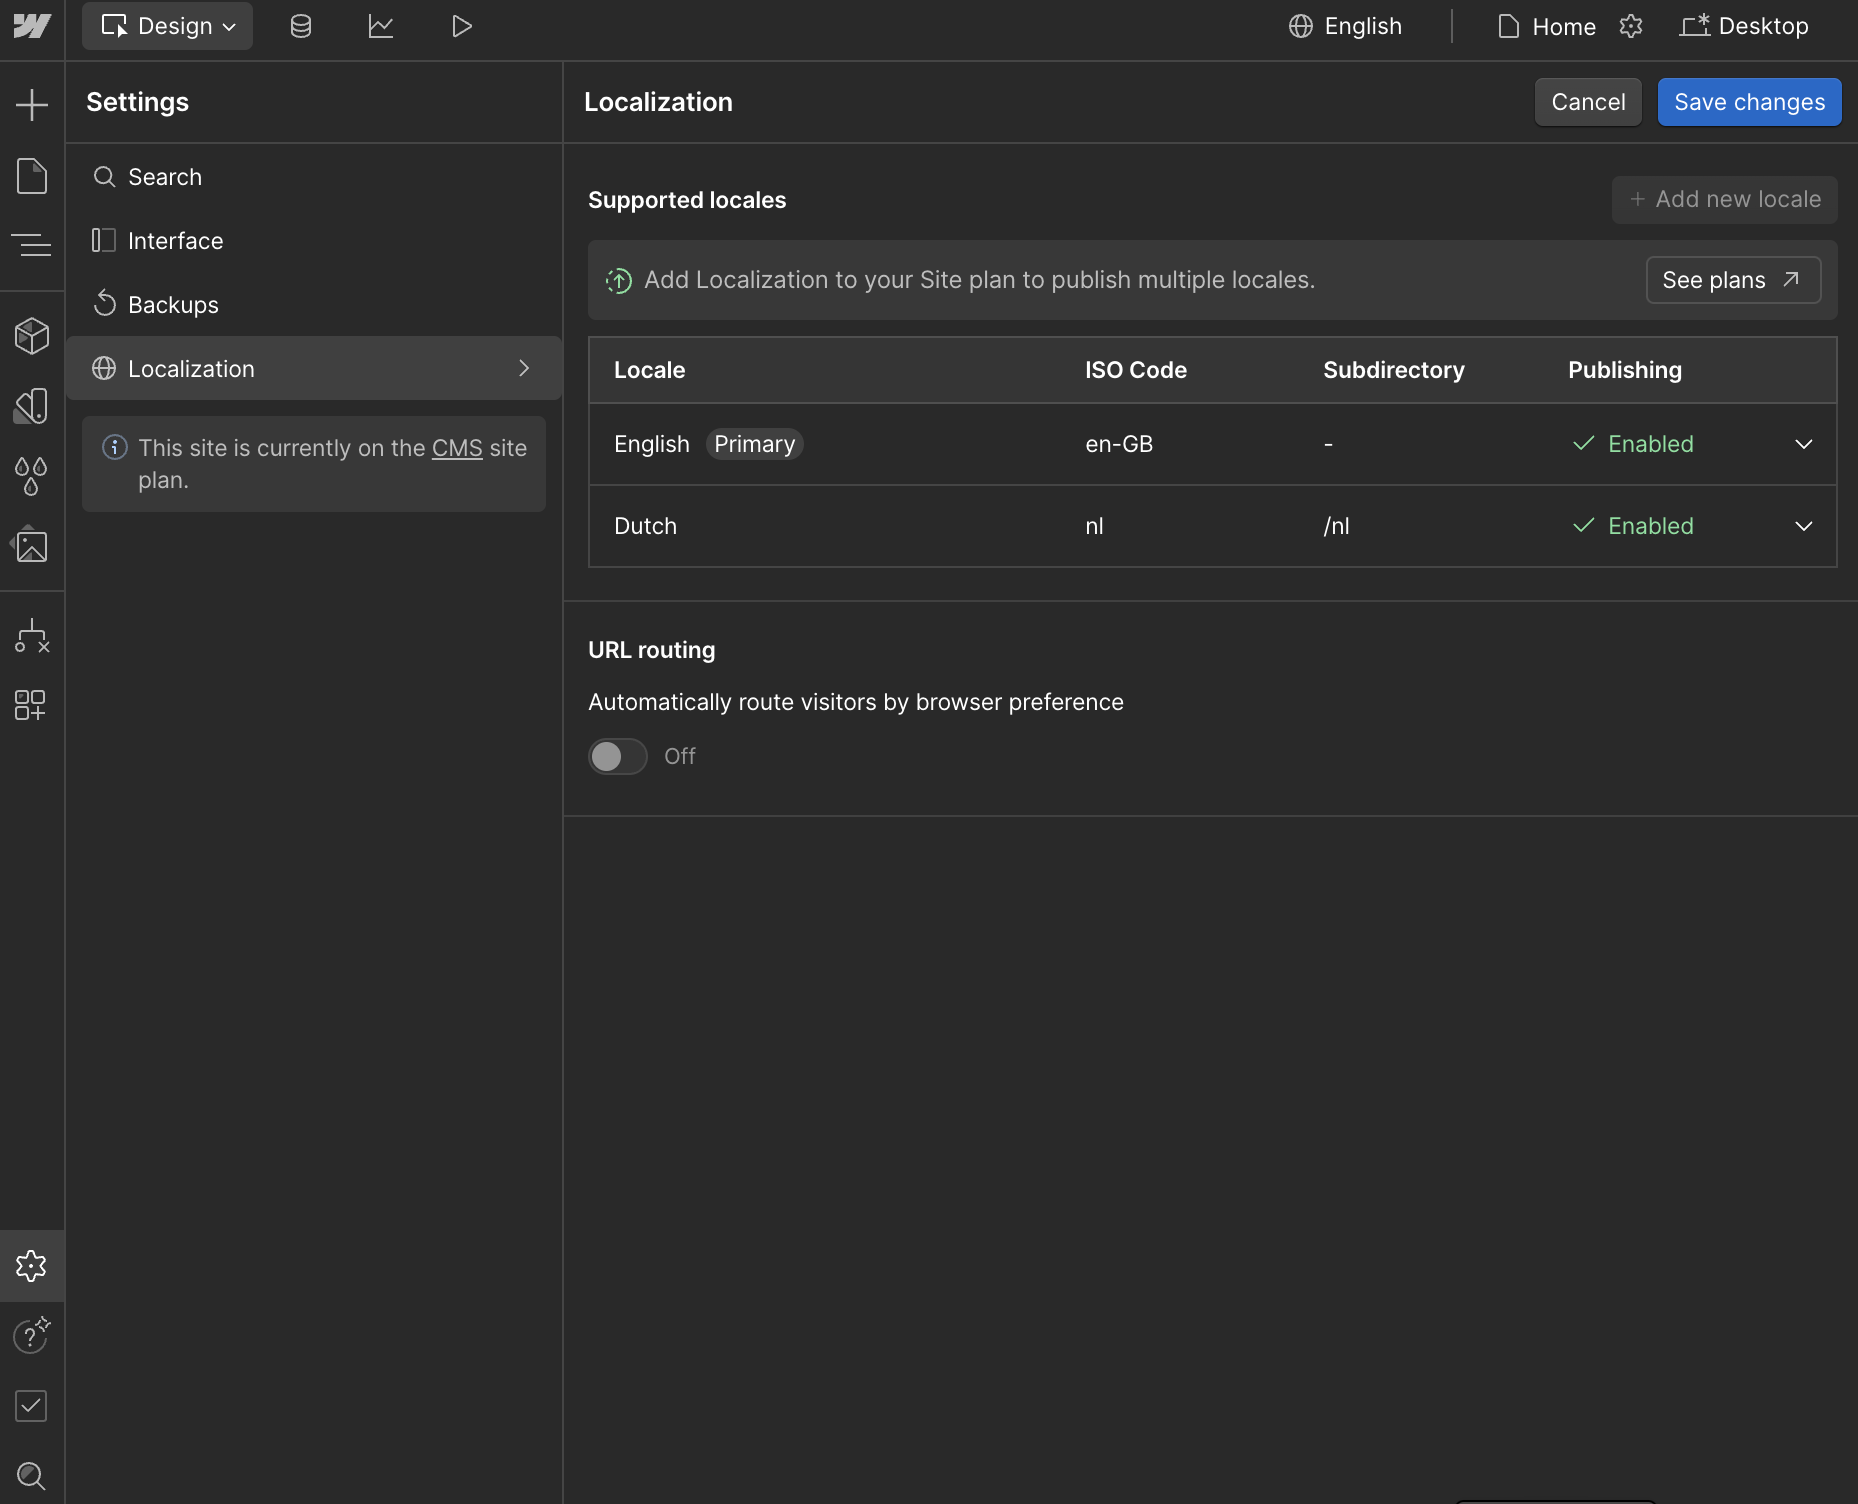
The journey begins in Webflow Designer. Head over to Settings > Localization, and enable the feature. If you haven’t already, purchase the necessary localization plan. We recommend the Advanced Localization Plan for access to local URLs and comprehensive SEO tools.
Pro Tip: Disable publishing for new language subdirectories during setup to avoid conflicts with Weglot’s active scripts.
Step 2: Transfer Content
Here’s where the elbow grease comes in. Webflow doesn’t yet support automatic translation like Weglot, so you’ll need to manually transfer all existing translations. This includes:
- Page content: Copy-paste translations from Weglot.
- Meta data: Titles and descriptions for every page.
- CMS entries: Blog posts, portfolio items, or any dynamic content.
- URLs: Make sure all slug translations align with your structure.
Yes, it’s tedious, but it pays off when it comes to avoiding SEO hiccups during the switch.
Step 3: Create a Custom Language Switcher
In Webflow, language switchers are called Locales Lists, functioning like CMS collections. Use this flexibility to design a switcher that matches your site’s branding. Place the switcher strategically across the site to improve accessibility for users.
Bonus: Enable automatic visitor routing based on browser language in the Localization settings. This ensures users are directed to their preferred language version instantly.
Step 4: Remove Weglot Script
Time to bid farewell to Weglot. Remove its scripts from your Webflow project. These are typically found in the <head> or <body> sections of your site settings. Reset your CNAME record to Webflow’s specifications to reestablish control over your domain.
Step 5: Enable Localization Publishing
With Webflow, each language version lives in its own subdirectory (e.g., /fr for French). Activate Publishing for Subdirectories to make your site’s localized pages live. This structure boosts SEO by treating each language version as a separate entity.

Step 6: Publish Your Website
You’re almost there! Hit that Publish button to push your changes live. But don’t celebrate just yet—there’s still some housekeeping to do.
Step 7: Test Links and Set Up 301 Redirects
Once live, check all links to ensure there are no broken paths or 404 errors. If you find any, set up 301 redirects to maintain link equity and ensure users are seamlessly guided to the correct pages. Properly migrated URLs should minimize issues, but it’s always better to double-check.
Conclusion
Switching from Weglot to Webflow Localization may feel tedious, but it’s a great investment in the future of your website. By taking full advantage of Webflow’s seamless integration, robust SEO tools, and design freedom, you can create a multilingual site that’s both beautiful and functional. Just remember: patience and precision are key. And if things get tricky, don’t hesitate to ask for help—we’ve all been there!
Ready to take your Webflow site global? Let’s make it happen. Book an intro call with us.


.png)
.png)
.webp)
.svg)


